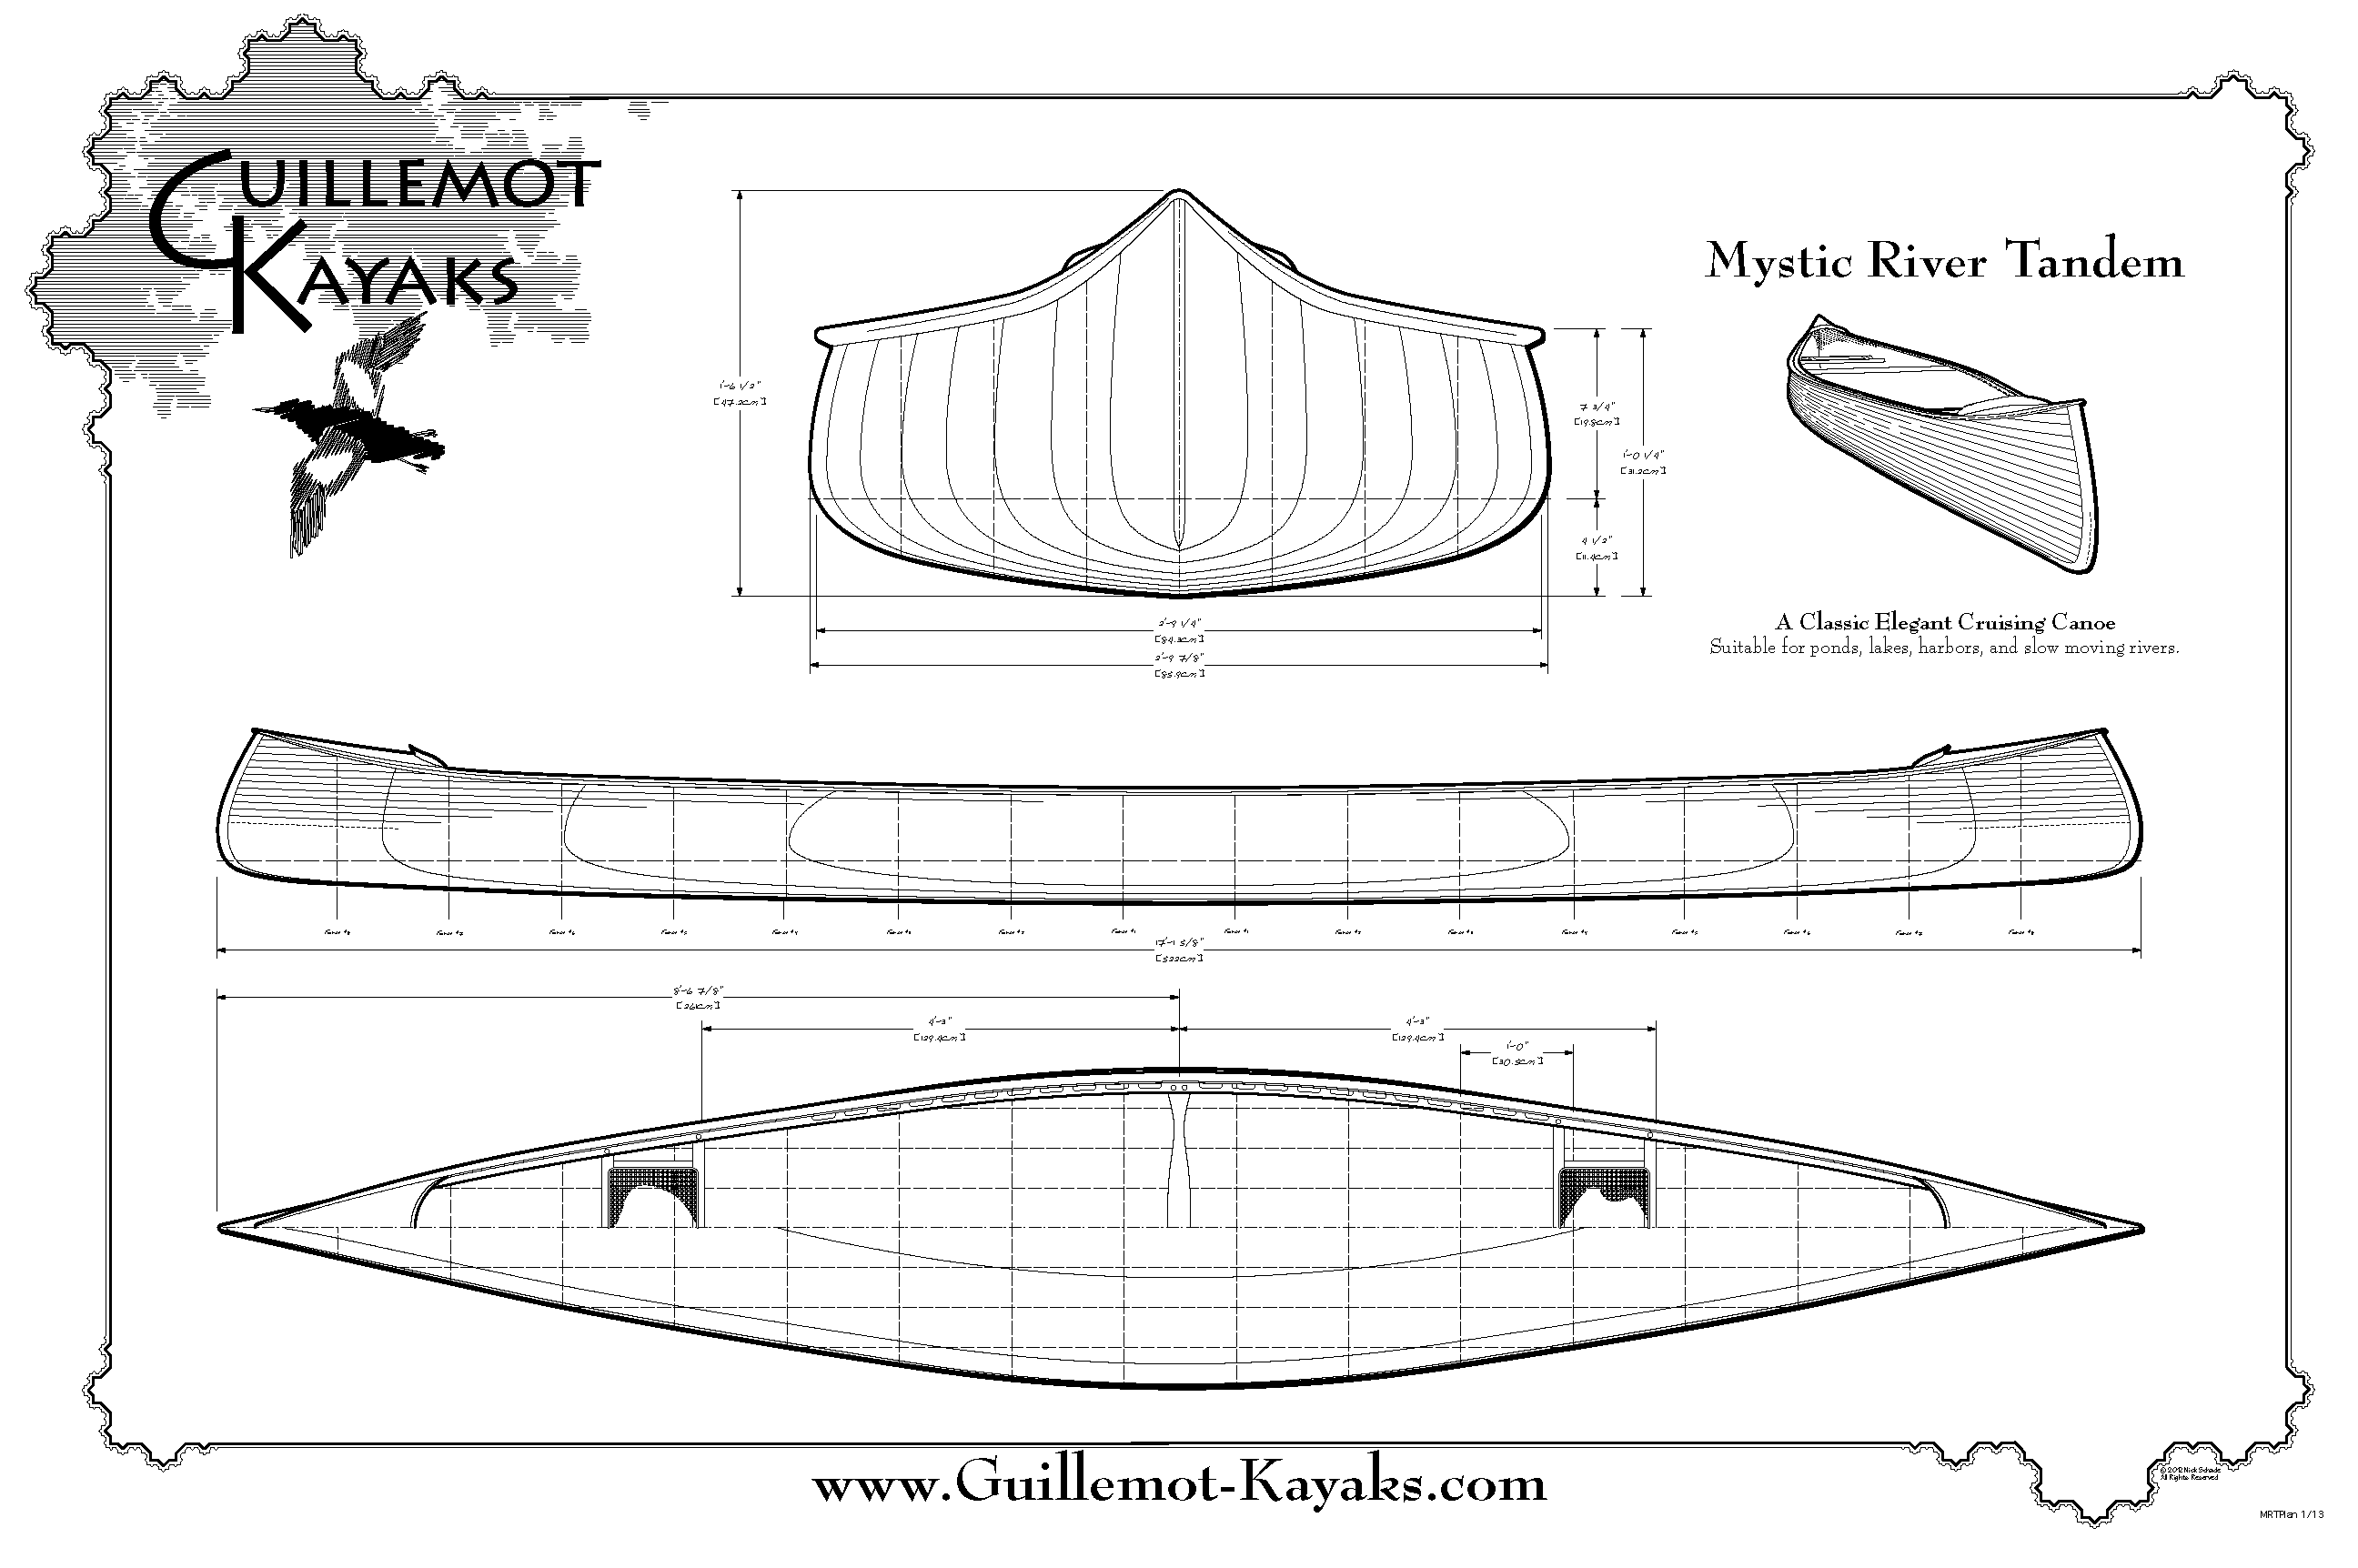
Designing and Building Your Own Kayak for Fishing and Exploration
Hey there, fellow adventurer! Ever dreamed of gliding across the water, casting a line into the crystal clear depths, or exploring hidden coves and inlets? Well, building your own kayak can be a truly rewarding experience, giving you a craft perfectly tailored to your needs and a sense of accomplishment that store-bought kayaks can't match.
This guide will take you through the exciting journey of designing and building your own fishing and exploration kayak. We'll cover everything from the initial design to the finishing touches, helping you turn your dream into a reality.
The Design Process: Planning Your Dream Kayak
The first step is to decide exactly what you want your kayak to do. Do you prioritize speed for covering long distances? Do you need plenty of storage for gear and fishing supplies? Do you want a stable platform for casting or a nimble craft for navigating tight spots? Your answers will guide your design choices.
Size and Shape
The length, width, and hull shape of your kayak play a huge role in its performance. A longer kayak, typically 12-16 feet, will generally be faster and track better in a straight line. A wider kayak, around 28-32 inches, offers more stability and carrying capacity. The hull shape can be flat-bottomed for stability, or more rounded for speed. Consider your intended use and personal preferences to find the sweet spot.
Materials
Kayaks are traditionally made from wood, fiberglass, or polyethylene (plastic). Wood offers a classic look and can be shaped beautifully, but requires more skill and time. Fiberglass is strong and lightweight, but can be more expensive and challenging to work with. Polyethylene is durable, affordable, and forgiving, but can be heavier and less refined. Each material has its pros and cons, so choose the one that best fits your skill level and budget.
Features and Accessories
Think about the specific features that will enhance your fishing and exploration experience. This might include:
- A comfortable seat
- Rod holders
- Storage compartments for gear and tackle
- A paddle leash
- A GPS or fishfinder
- A dry bag for valuables
The more specific you are with your features, the more tailored your kayak will be to your needs.
Building Your Kayak: Turning Plans into Reality
Now for the fun part â€" building your dream kayak! There are several approaches you can take depending on your comfort level and resources:
Plans and Kits
A good starting point for beginners is to use a pre-made kayak plan or kit. These provide detailed instructions and patterns, simplifying the building process. You can find plans and kits for various kayak styles and materials online and at boatbuilding suppliers.
Custom Design
If you're feeling adventurous and confident in your skills, you can design your own kayak from scratch. This involves using CAD software or creating your own detailed drawings. It's a more challenging process, but allows for maximum customization.
Tools and Materials
The specific tools and materials you'll need depend on your chosen design and building method. However, some common essentials include:
- Power tools like a jigsaw, drill, and sander
- Hand tools like a hammer, pliers, and measuring tape
- Woodworking supplies like glue, clamps, and screws
- Fiberglass resin and cloth, or polyethylene sheets
- Epoxy for sealing and bonding
Remember to prioritize safety by wearing protective gear like gloves, goggles, and a respirator when working with hazardous materials.
Construction Process
The construction process will vary depending on your design and chosen materials. However, the general steps usually involve:
- Creating the frame: This involves cutting and assembling the kayak's skeleton, typically made from wood strips or fiberglass rods.
- Adding the skin: The skin is the outer layer that gives the kayak its shape and watertightness. This can be made from wood planking, fiberglass cloth, or polyethylene sheets, depending on your design.
- Finishing and sealing: This involves sanding, fairing (smoothing out the surface), and applying a protective coating like paint or epoxy to ensure watertightness and durability.
- Adding features: Install rod holders, storage compartments, and any other desired accessories.
Testing and Refinement
Once your kayak is built, it's time to test it out! Start with a calm lake or pond to familiarize yourself with the handling and stability. This is a chance to fine-tune your design, possibly making adjustments to the seating, stability, or speed.
Take notes on your experience and make any necessary modifications before venturing out onto more challenging waters. Remember, the journey is part of the adventure, and each modification you make will make your kayak truly your own.
Enjoy Your Creation
After all the hard work, you'll be rewarded with a kayak that's uniquely yours, built with care and expertise. Now, you can truly enjoy the thrill of fishing and exploring, knowing that you crafted a vessel that reflects your own passion and craftsmanship.
As you paddle through the waters, whether casting a line, discovering hidden coves, or simply enjoying the serenity of the natural world, you'll have the satisfaction of knowing you built something special. So go out there, embrace the adventure, and make memories that will last a lifetime.


No comments:
Post a Comment
Note: Only a member of this blog may post a comment.